Weddings and events · 2:30
Make a wedding RSVP QR code
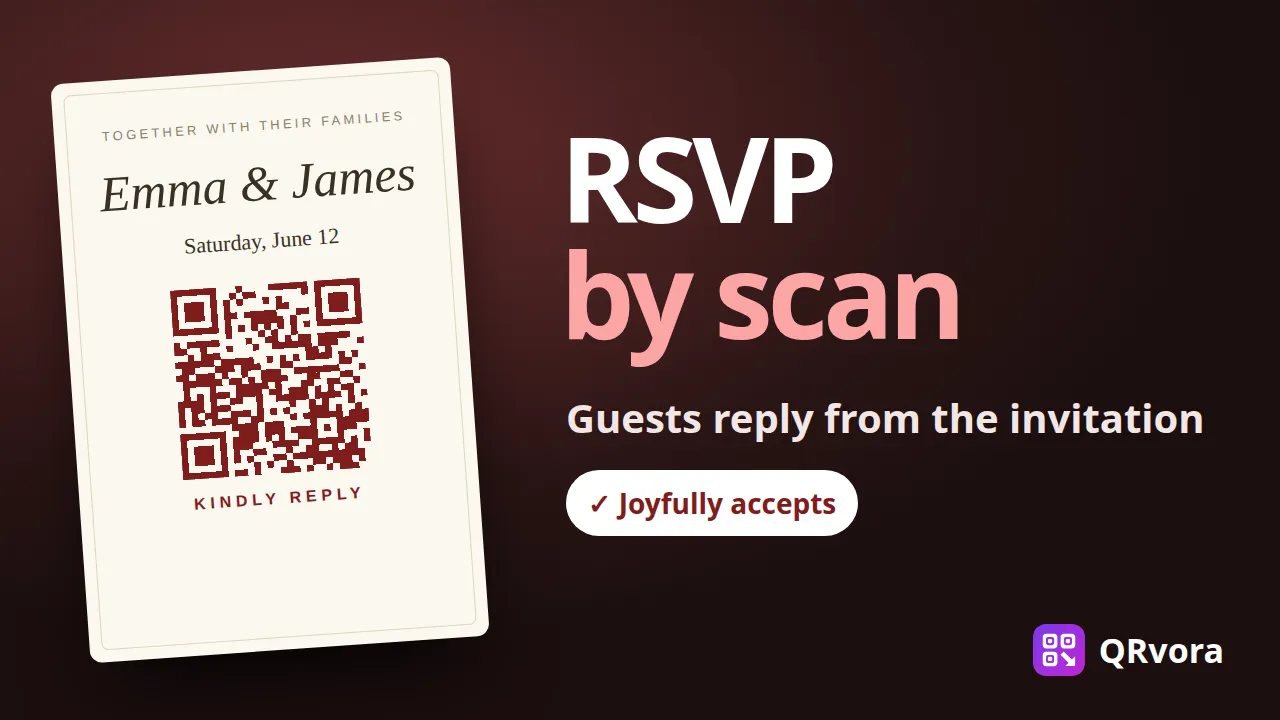
Put a QR code on your wedding invitations. Guests scan it, see your invitation and reply in a few taps, and every answer lands in one list you can download for your venue.
What you'll learn
- How to show only what you want on the invitation page
- How to ask for party size, meal choice and a reply-by date
- How big to print the code on the card
- Where every reply lands, and how to download them for your venue
Transcript
You've sent the wedding invitations. Now comes the hard part: chasing everyone for a reply.
In this video, we'll put a QR code on your invitation, so guests reply just by scanning it. Every answer lands in one list.
Step one. Create your page.
In your dashboard, choose Create QR, then Wedding RSVP.
Give it a name that only you will see, then press next.
Step two. Add your names and the date.
Type your names, then pick the date and the start time. The phone on the right shows your page as you go.
Step three. Choose what guests see.
Your names, the date and the reply form are always there. Everything else is a switch, so keep the page as simple as you like.
Venue is on. Add the name and the address, and guests get a Directions button.
Switch on the schedule, and add the ceremony and the reception.
Step four. Choose the replies you need.
Guests always give their name and say if they can come. Here we also ask how many are coming, and their meal choice.
Then set a reply-by date. After it, the form closes on its own.
Step five. Pick a look and save.
Choose a style, then a colour that matches your wedding.
Press save, and your invitation is live.
Step six. Put the code on your card.
Press next. Add a frame that says Kindly reply, and download the PDF for your printer.
Print it at least two and a half centimeters wide, on a light part of the card, and scan one copy before you print them all.
Step seven. Your guests reply.
A guest scans the card, sees your invitation, and taps Joyfully accepts.
They choose how many are coming and their meal, then press send. If plans change, they can update their reply later.
In your dashboard, every reply is in one list: who's coming, how many, and what they'll eat. Download it for your venue.
Changed the time or the venue? Edit the page, and every printed card shows it. That's your wedding RSVP, done.
More tutorials
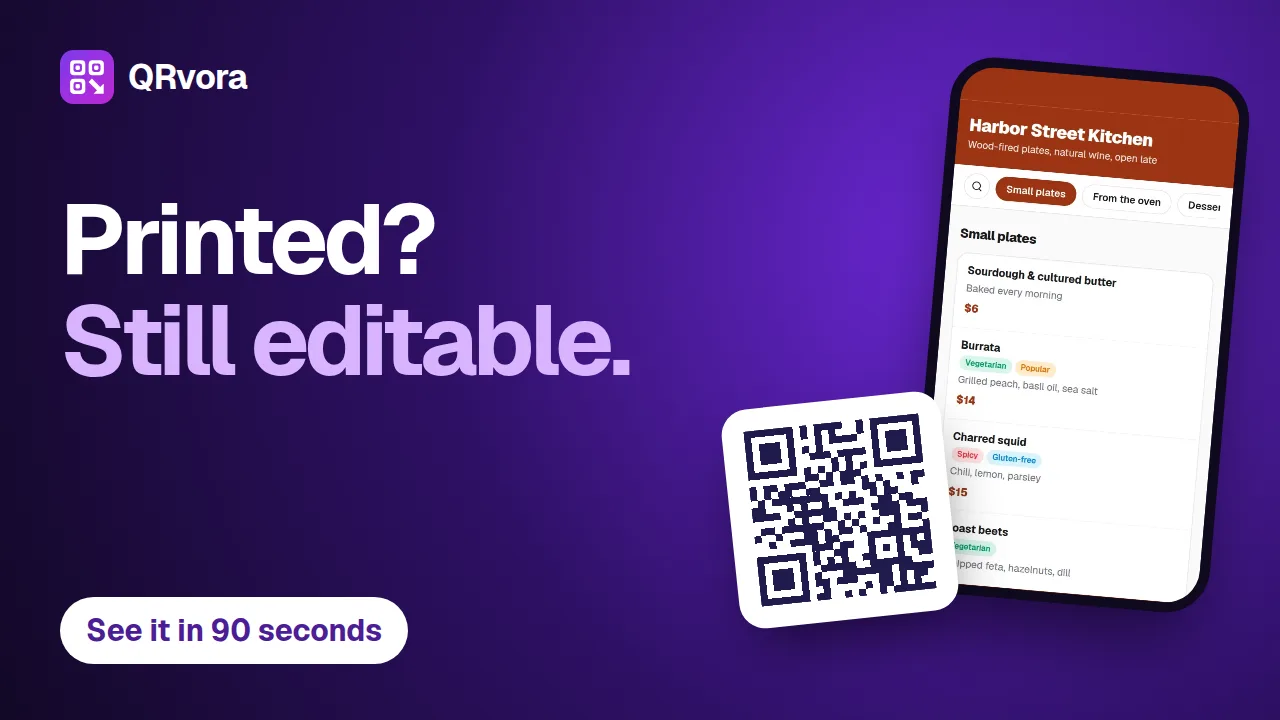 1:26Getting startedQR codes you can change after printingA tour of QRvora in 86 seconds: the 15 dynamic types, the page builder, design and print files, changing a link after printing, smart rules, analytics and automation.
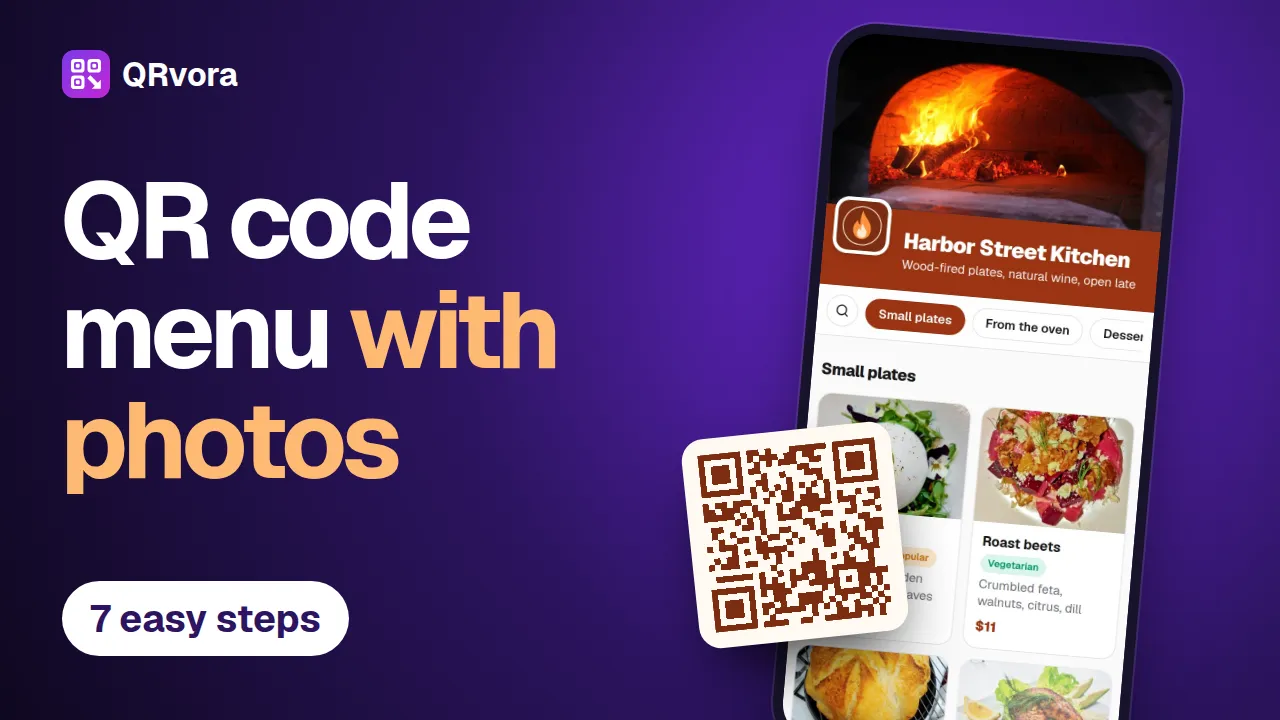 3:13Menus and restaurantsMake a QR code menu with photosBuild a restaurant menu in seven steps, from an empty account to a printed table card: dishes, photos, prices, tags, your branding and a QR code that's ready to print.
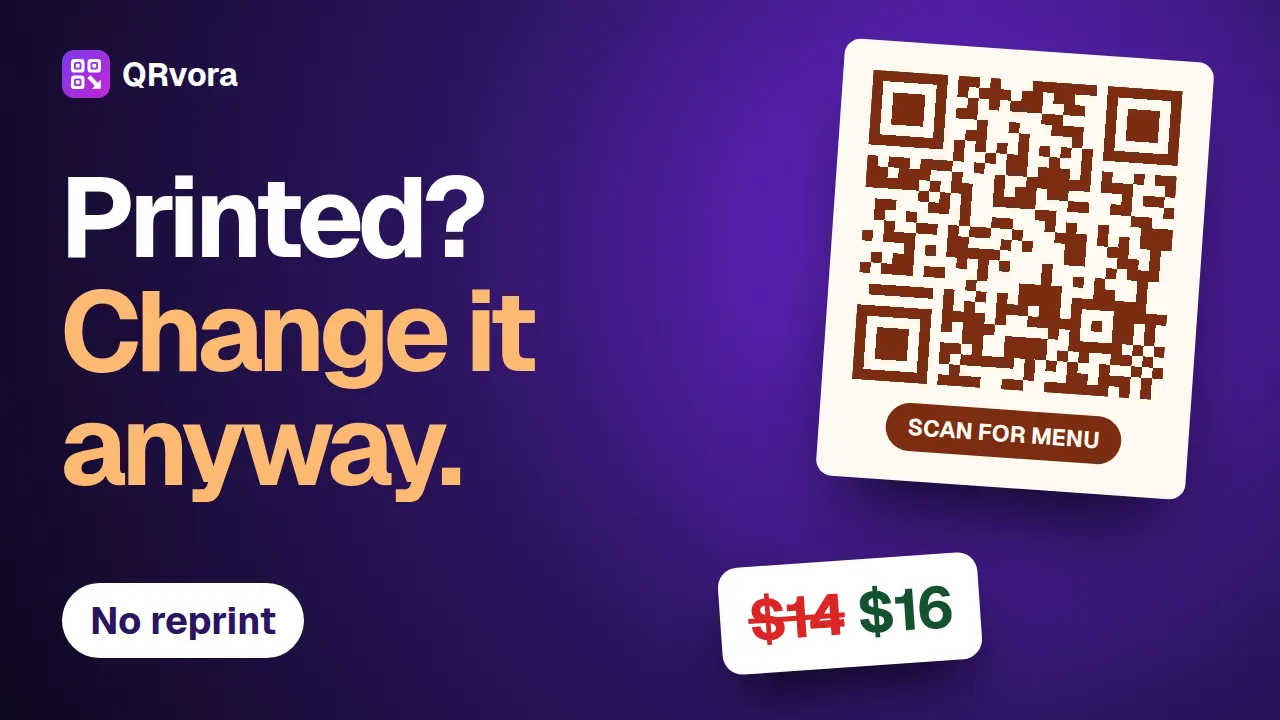 2:34Editing and printingChange a QR code after printingChange a price, a dish or a website link behind a printed QR code, and keep the code you printed. Six steps, and the mistakes that cost a reprint.
 2:56Business cards and contactsMake a digital business card with a QR codeBuild a digital business card in seven steps, put the QR code on your printed card, and let people save your details to their phone with one scan.
 0:40AutomationGoogle Sheets to QR codes, automaticallyAdd a row to a Google Sheet, and Zapier creates a dynamic QR code for it in QRvora, then writes the short link back into the row.