Menus and restaurants · 3:13
Make a QR code menu with photos
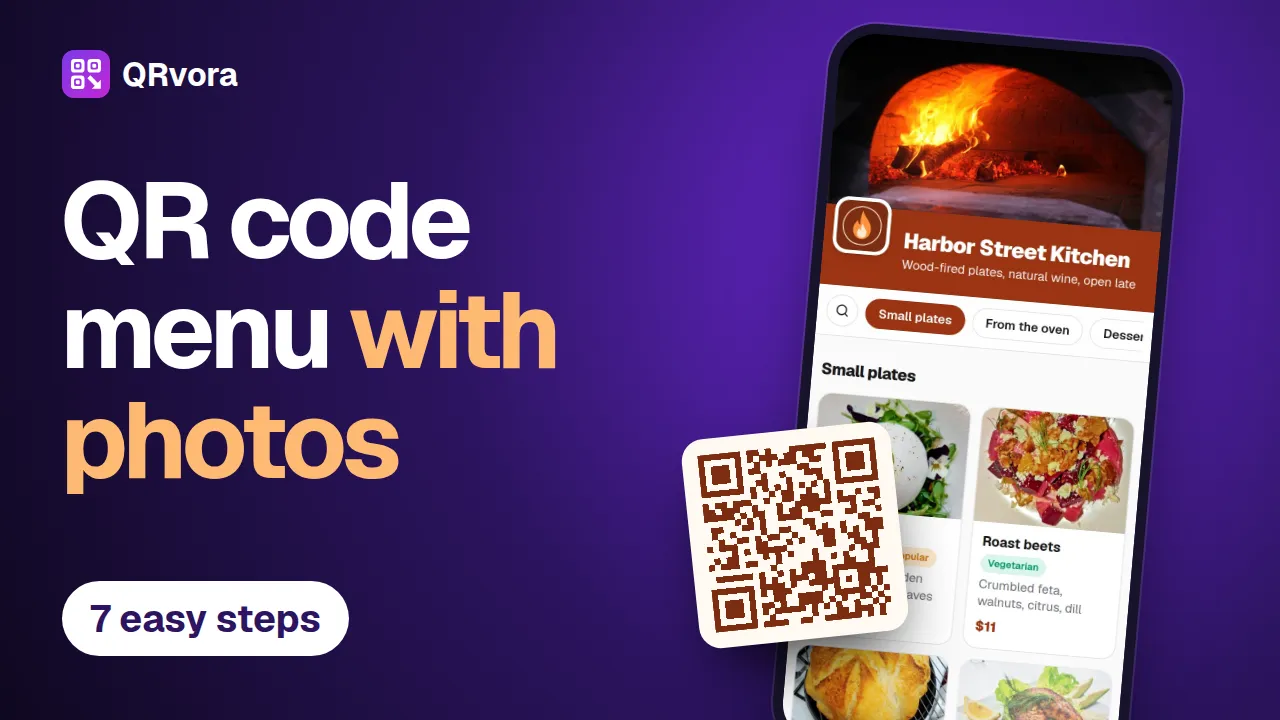
Build a restaurant menu in seven steps, from an empty account to a printed table card: dishes, photos, prices, tags, your branding and a QR code that's ready to print.
What you'll learn
- How to add a whole list of dishes at once
- How to add photos, tags, sizes and sold-out items
- Which file to send to your print shop
- How big to print the code on a table card
Transcript
This is a menu your guests open with one scan. Real photos, clear prices, and you can change it any time.
In this video, we'll build it from nothing, in seven steps. Have your dishes, your prices and a few photos ready.
Step one. Create your code.
In your dashboard, choose Create QR, then Menu.
Give it a name. Only you see this, so call it something useful, like Table menu. Then press next.
Step two. Name your menu.
Type your restaurant's name, then a short tagline. The phone on the right shows what guests will see, and it updates as you type.
Now choose a look. Photo cards show each dish as a large picture, which is what you want for food. This look starts on the Starter plan. On Free, your menu uses the light look.
Then set your brand color.
Step three. Add your dishes.
Press add a section, and name it. Small plates.
Here's the quick way to add dishes. Press paste a list. Put one dish on each line: the name, the price and a description, with a dash between them.
Press add these items, and they're all on your menu.
Do the same for the rest of your menu. We'll speed this part up.
Step four. Add photos and details.
Open a dish, press add photo, and choose your picture. QRvora resizes it for you, so there's nothing to prepare.
Tags help people choose. Mark a dish as vegetarian, spicy or popular.
If a dish comes in two sizes, press add sizes instead, and give each one its own price.
And when something runs out, tick sold out. It stays on the menu, greyed, so nobody orders it.
Now the other dishes, sped up again.
Step five. Add your details and branding.
Add your opening hours, phone number and address. Anything you leave empty stays off the page.
Then upload your logo and a cover photo. Your logo shows on the page from the Starter plan.
Press save, and your menu is live.
Step six. Design your QR code.
Press next. Choose a color that suits your restaurant.
Then add a frame. Words like scan for menu tell guests exactly what they'll get.
Now download it. SVG stays sharp at any size, so send that one to your print shop.
Step seven. Test it, then print it.
Print one copy first, and scan it with your own phone, at the table.
On a table card, make the code at least four to five centimeters wide. That's about two inches.
Your guests scan, and there's your menu, with every photo and price.
That's your menu, done. And when a price changes, you won't need to reprint a thing. In the next video, I'll show you how.
More tutorials
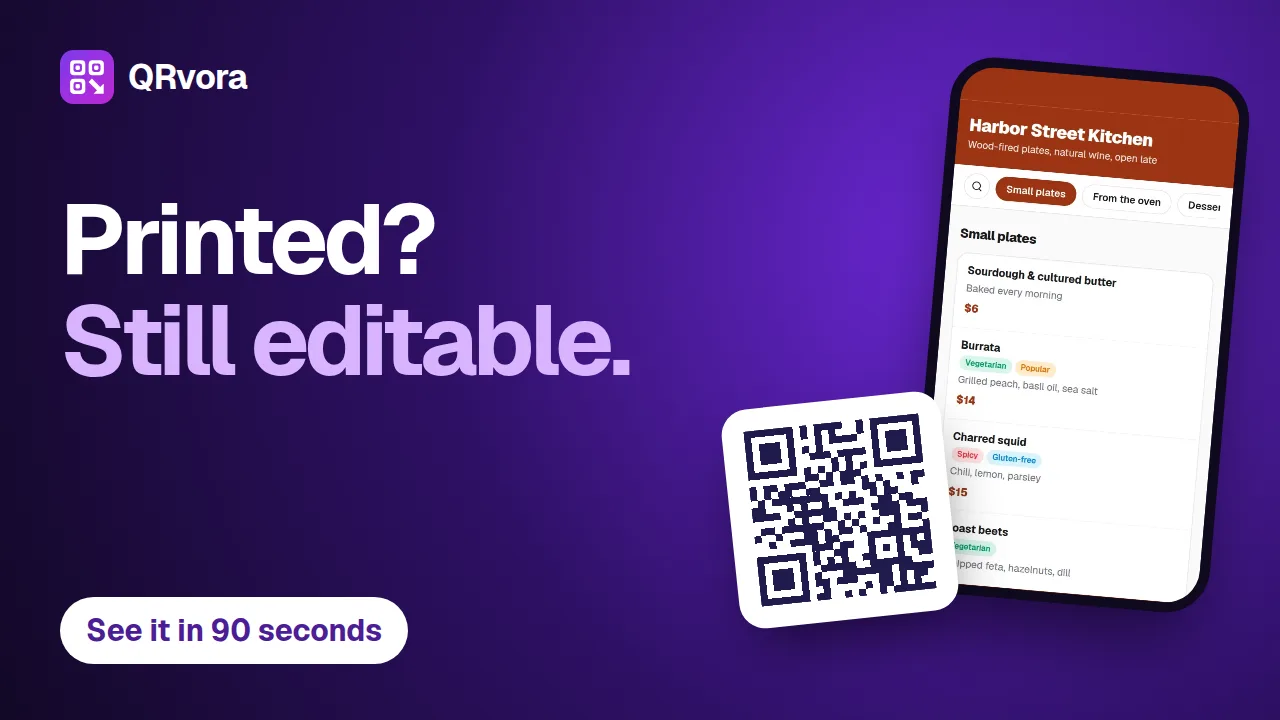 1:26Getting startedQR codes you can change after printingA tour of QRvora in 86 seconds: the 15 dynamic types, the page builder, design and print files, changing a link after printing, smart rules, analytics and automation.
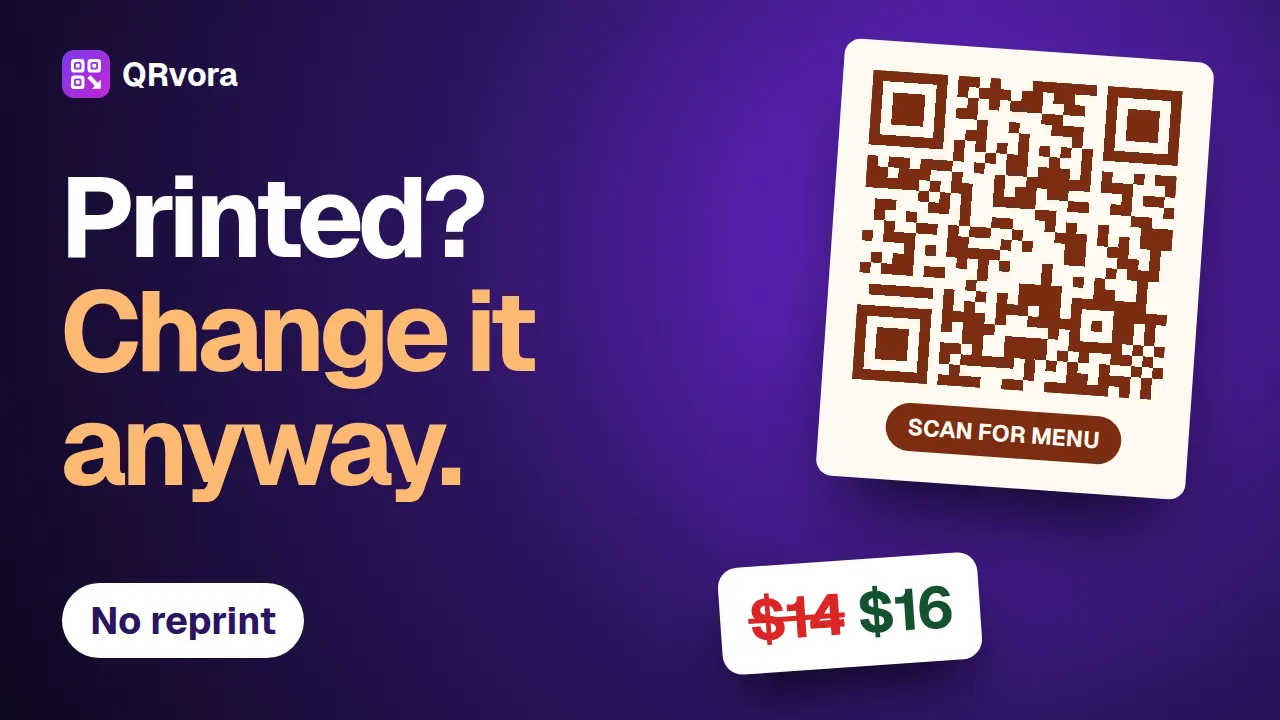 2:34Editing and printingChange a QR code after printingChange a price, a dish or a website link behind a printed QR code, and keep the code you printed. Six steps, and the mistakes that cost a reprint.
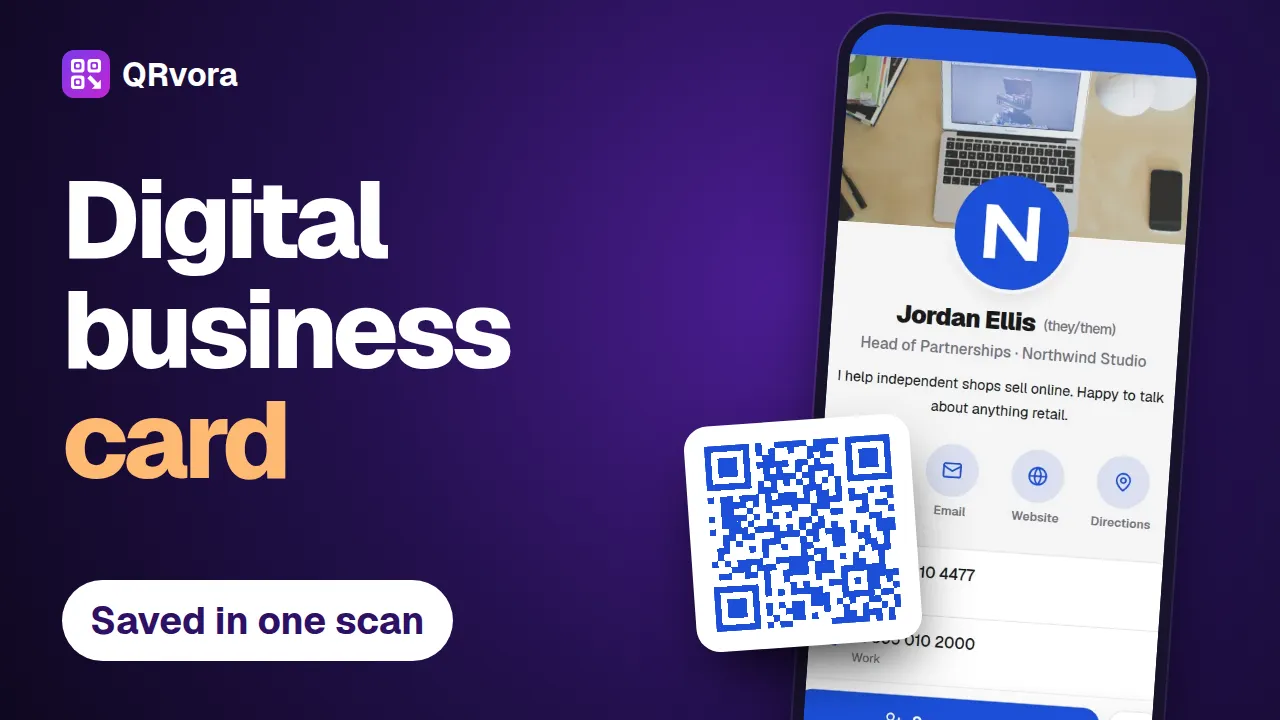 2:56Business cards and contactsMake a digital business card with a QR codeBuild a digital business card in seven steps, put the QR code on your printed card, and let people save your details to their phone with one scan.
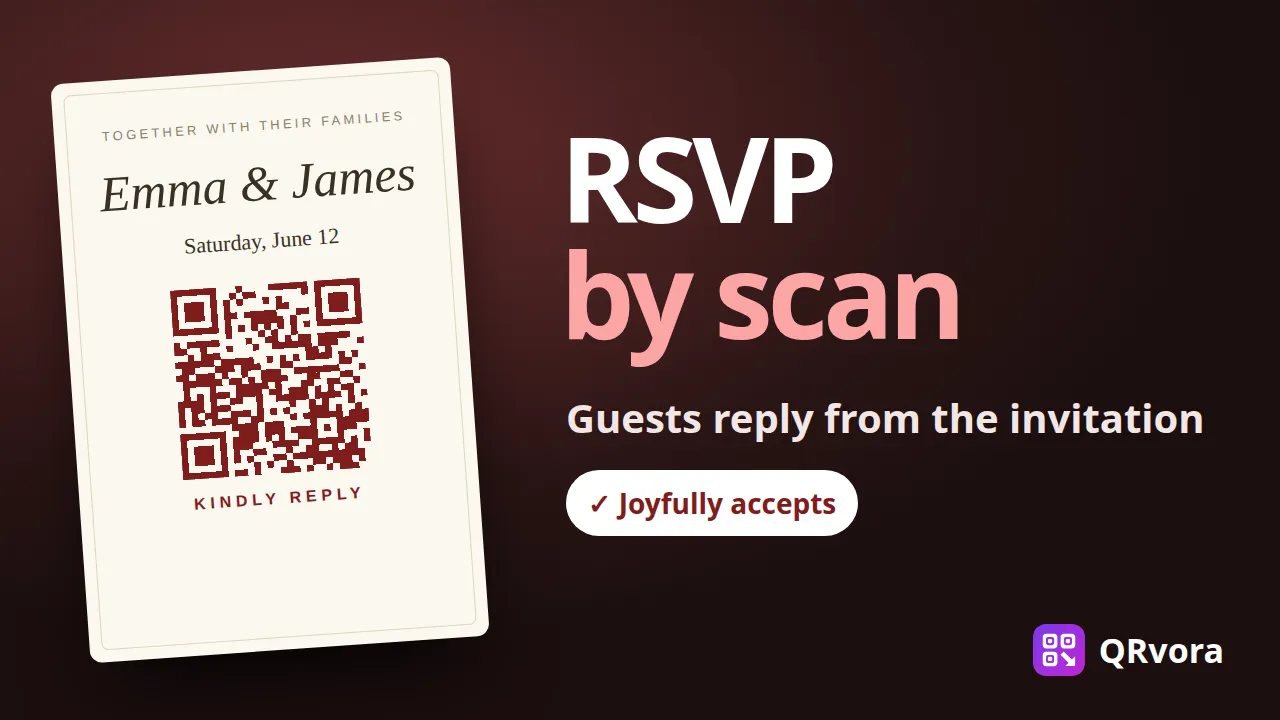 2:30Weddings and eventsMake a wedding RSVP QR codePut a QR code on your wedding invitations. Guests scan it, see your invitation and reply in a few taps, and every answer lands in one list you can download for your venue.
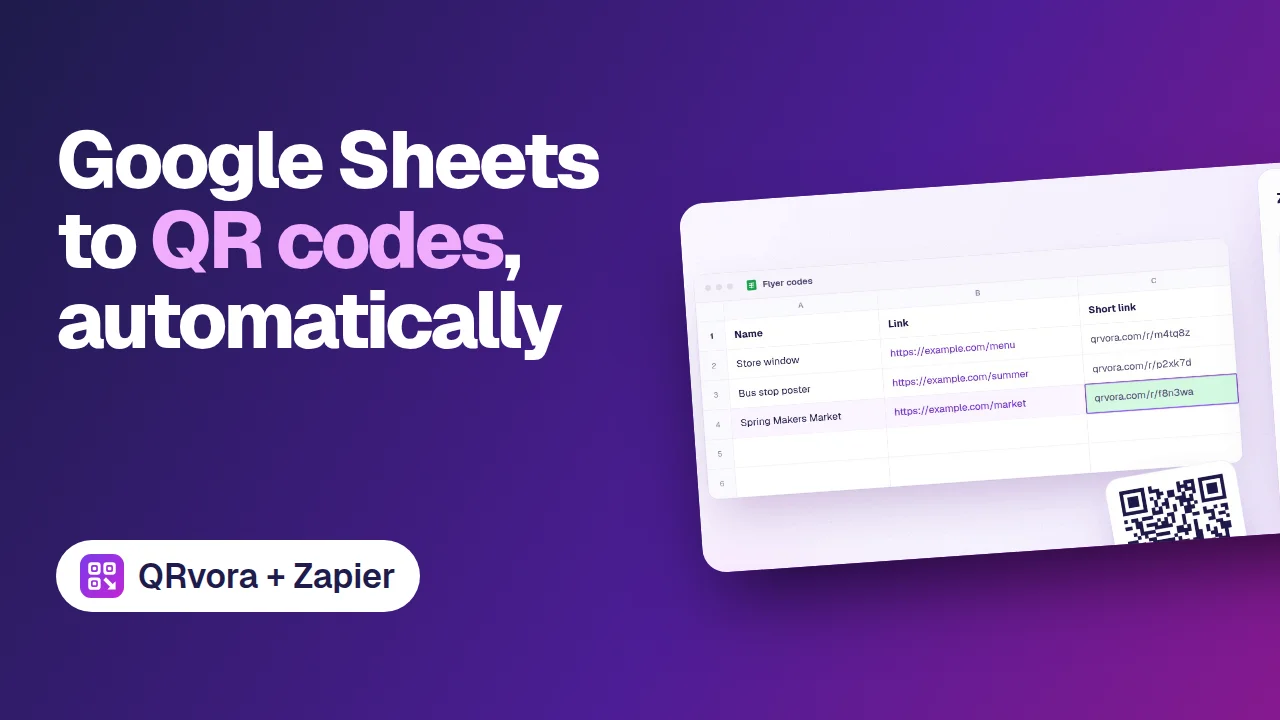 0:40AutomationGoogle Sheets to QR codes, automaticallyAdd a row to a Google Sheet, and Zapier creates a dynamic QR code for it in QRvora, then writes the short link back into the row.